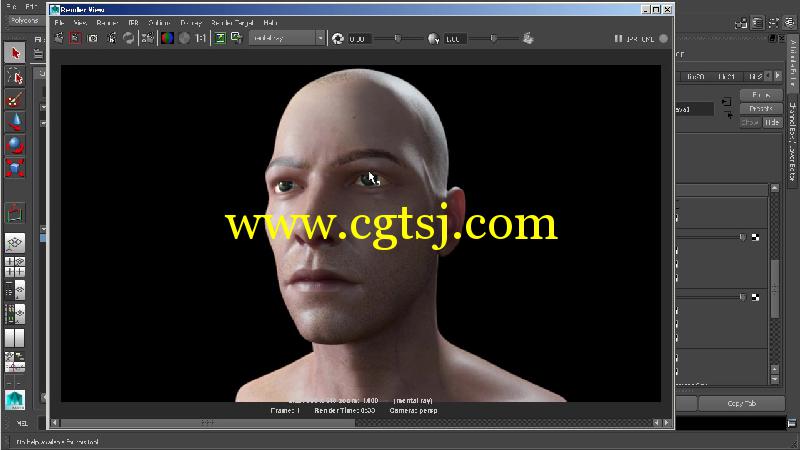
本视频教程是由Digital-Tutors机构出品的MARI角色皮肤纹理制作视频教程,Digital-Tutors Taking Skin Textures from Good to Great in MARI,时长:1小时36分,大小:1 GB,MP4高清视频格式,附工程源文件,教程使用软件:MARI 2.6v2, Maya 2015,作者:Eddie Russell,共10章节,语言:英语。
MARI是一款全新的具有创造性的3D纹理绘制产品,最初在Weta Digital开发,主要用来解决高细节的纹理问题,后被用于影片《阿凡达》、《第九区》等的开发制作中。MARI能够轻松处理高细节——数以万计的复杂纹理——快速且简单。MARI深受欢迎,并收到了来自各式各样的纹理绘制社区的预定请求,这其中不乏Double Negative和Framestore这样的大客户。
Digital-Tutors机构是号称全球最大的CG付费教程网站,2000多万次视频播放记录,顶级客户的优秀项目实例,被誉为教学和娱乐结合的最好的教程,RenderMan创建人称之为“完美的学习站点”,成立至今已经有12年之久,内容集中在视频制作和游戏制作两大板块,其网站完整的教学的理念,先进的技术支持(他们甚至开启了移动手机看教程的计划,支持IPAD/IPHONE/ANDROID),都让人耳目一新。尤其是多层级的教学难度设置,有趣的考试内容,时不时的竞赛,让DT成为非常活跃的一个CG机构。
Digital-Tutors Taking Skin Textures from Good to Great in MARI
For a number of reasons, many artists struggle to paint realistic skin textures for their characters.
Often times, to save time and speed up the painting process, photographs are used to texture skin. On top of introducing quite a few addition problems, this process creates a dependency on finding just the right photo. Wouldn’t you like to be able to paint realistic skin without having to rely on a photo?
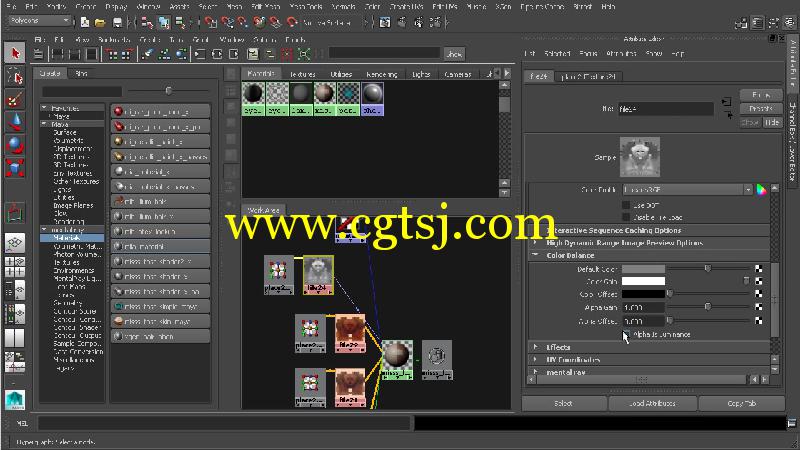
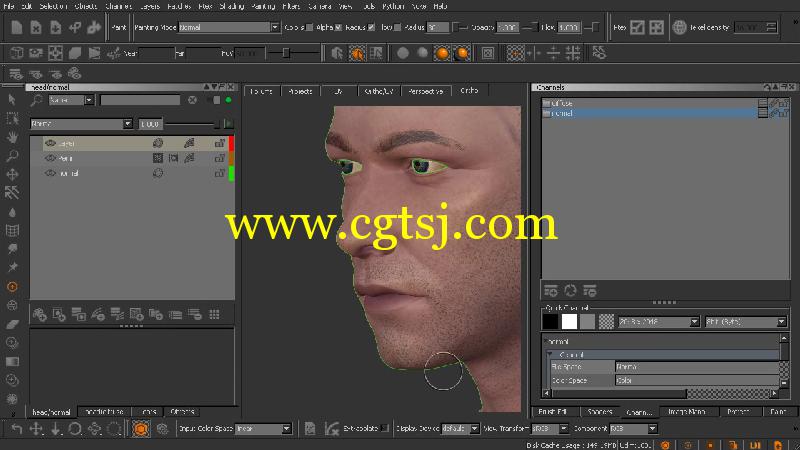
This MARI tutorial will begin with a very basic coloration for our skin texture in MARI. We’ll render this out using Maya to see that while it could work, it could definitely be better. From here we’ll go through the process of painting a number of different blemishes and details as well as additional maps for our asset.
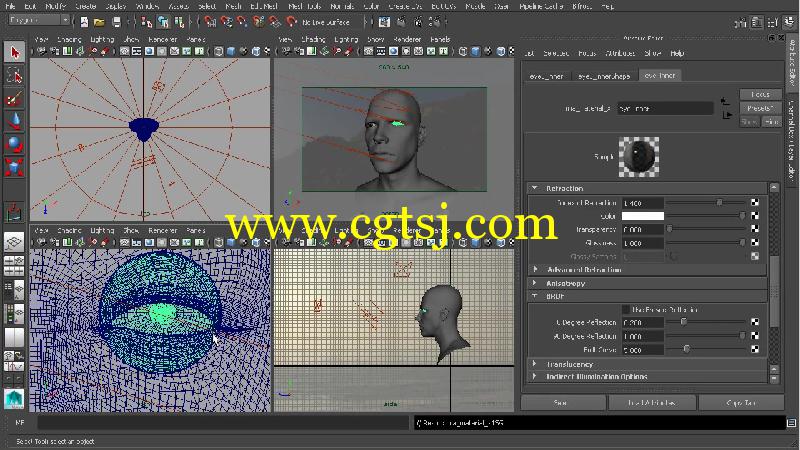
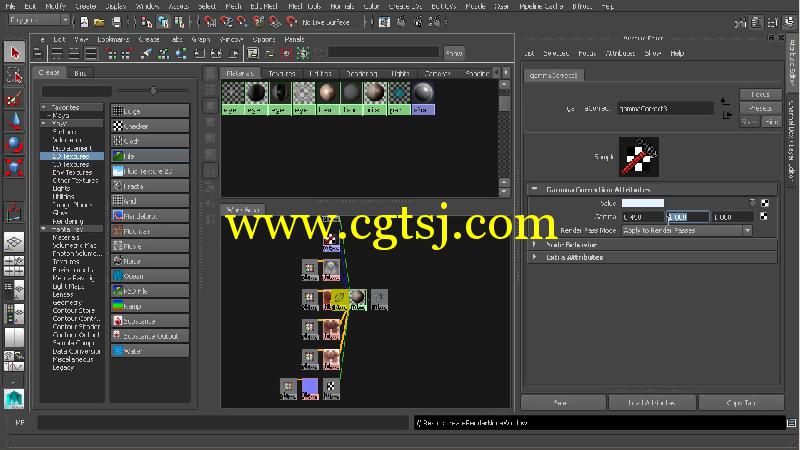
From here we’ll move back to Maya and learn how to setup a subsurface scattering material for our textures that will give as a more realistic preview of their effectiveness. To wrap things up, we’ll examine the rendered result and then make some modifications to our textures to push them even further.
After completing this MARI training, you’ll have a great understanding of how you can add that extra realism to the textures you render for your own characters.
